How to Install and Hang Blackout Curtains?
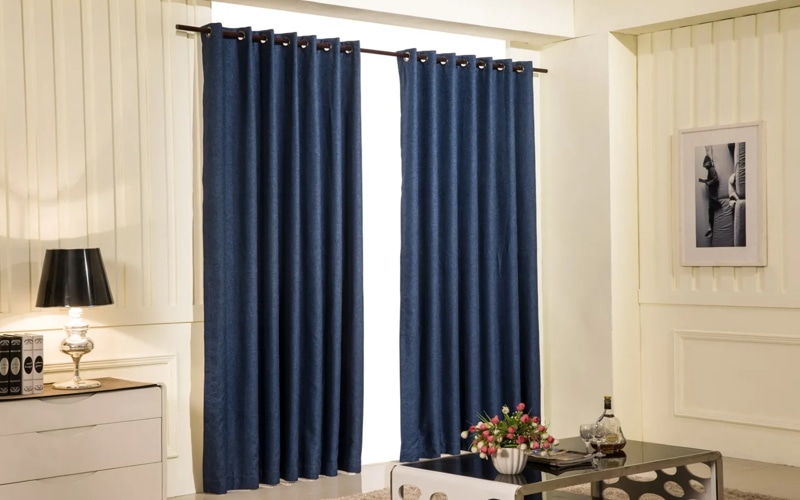
Are you struggling with light blockage or want to create a cozy ambience in your bedroom? Look no further than blackout curtains, the perfect solution. These curtains are custommade to eliminate external light, creating a serene and darkened atmosphere. However, ensuring proper installation is crucial for maximum efficiency.
Let us lead you through the process so you can know how to install and hang blackout curtains like a pro. Let’s discuss the importance of blackout curtains, especially for bedrooms, before installing them. Light, even during sleep, blackout curtains Improve sleep quality.
Choosing the Right Blackout Curtains

The starting step in your journey is selecting the proper blackout curtains for your space. Start by measuring your windows accurately, taking into account their width and length. It’s crucial to have curtains that surpass the window frame to guarantee complete light blockage. In terms of material, choose curtains made from densely woven fabrics like polyester or cotton blends.
When you’re facing the intense sunlight in Dubai, blackout curtains for bedrooms become a top choice. Many homeowners and renters in the area opt for the professional services of curtain installers in Dubai to ensure the curtains fit perfectly and operate smoothly.
Curtain Rails or Rods – Which is Best
You have a choice – curtain rails or rods. Curtain rails are popular in Dubai. They look modern and sleek, with curtains gliding smoothly along a continuous track above the window frame.
If you prefer a more traditional style, curtain rods are a great option. These rods come in different materials like metal, wood, or plastic. They can be mounted inside or outside the window frame. When choosing curtain rods, think about the weight of your blackout curtains. Pick a sturdy rod that can handle their heaviness.
Easy 7 Steps to Install and Hang Blackout Curtains
Step 1: Preparing the Installation Area
Before hanging your blackout curtains, prepare the installation area. Clean the window frames and walls to ensure a smooth surface for mounting the curtain rods or rails. If you’re dealing with existing curtain hardware, remove it carefully to avoid damaging the walls.
Step 2: Iron Blackout Curtains
It’s important to iron your blackout curtains before you start putting them up. Curtains like these are often packed very tightly, which can make them wrinkled and creased. Not only will ironing them make them look nice, but it will also make sure they hang right.
For ironing blackout curtains:
- Choose the right heat setting for the fabric on your iron.
- Place the curtain pieces flat on an ironing board or another clean surface that can handle the heat.
- Work in parts and iron the fabric gently to get rid of any wrinkles or creases.
Step 3: Measure Your Window

For a perfect fit and a smooth fitting, it’s important to get the measurements right. To get the right size window, do these things:
- Find out how wide the window hole is at the top, middle, and bottom. Choose the biggest size.
- Between the top of the window and where you want the curtains to end, measure how high the window is.
- Add 4 to 6 inches to both the width and height to allow for overlap and the right amount of fullness.
Step 4: Choose Curtain Rods and Hardware

Blackout curtains appear to be heavier than regular curtains, so you’ll need strong curtain hooks and hardware to hold them up. When you choose your curtain rods and hardware, keep these things in mind:
- Material: Choose strong materials like steel or metal for curtain rods. They won’t give up under the weight. Pick metals that you can trust.
- Size: Choose a rod with a bigger width (1 inch or more) to fit thicker blackout curtains.
- Mounting: Choose whether to put the rod inside or outside the window frame. This pick should match your style and the way your windows are made.
Step 5: Install Curtain Rods and Hardware
This is the time to start installing the curtain rod now that you have the right tools and measurements. This is how you can do the job:
- Use a pencil and a level to mark where the hooks should go on the wall or window frame.
- If you need to, drill test holes for the screws.
- Use the right screws or anchors to connect the brackets securely to the wall or window frame.
- Make sure the curtain rod is level and safe before putting it into the brackets.
Step 6: Hang the Blackout Curtains
It’s now time to hang your pretty blackout curtains! How to do it:
- Slide the curtain pieces onto the rod slowly, making sure they are evenly spaced.
- Change the panels so that they meet in the middle. It will make the whole thing look smooth.
- Make sure the curtains don’t bunch up or twist. They should hang straight and evenly.
Step 7: Finishing Touches
To complete the installation, consider adding decorative finials or tiebacks to enhance the overall look. Finials are decorative end caps that add a touch of style to your curtain rods, while tiebacks help keep the curtains neatly gathered when open.
If you’re faced with particularly stubborn light leaks, you can supplement your blackout curtains with curtain liners or window film. The additional layers act as a robust defense against light, ensuring a genuinely dark and serene ambience.
Conclusion
Congratulations! You’ve successfully discovered how to install and hang blackout curtains. Now, you can enjoy a peaceful and restful sleep, free from unwanted light disturbances. Remember to open and close your curtains regularly to maintain their shape and functionality.
Suppose you need professional assistance with curtain installation or sourcing high-quality curtain rails in Dubai. In that case, many reputable companies offer curtain rails and curtain installation services in Dubai. Without hesitation, connect with them for a flawless and stress-free installation process.
Invest in blackout curtains for a cosy and restful sleep experience, increased privacy, and better energy efficiency. When you install and care for them correctly, your bedroom can radiate a soothing ambience that lasts for years.


Leave A Comment